How to Prepare for a Successful Signage and Graphics Installation
Preparing for a signage or graphics installation involves more than choosing designs. Understanding surface conditions, confirming measurements, planning access, and preparing the space in advance helps prevent delays, reprints, and installation issues—resulting in cleaner installs and longer-lasting graphics.
Becuase, most problems happen before installation ever begins—when surfaces aren’t ready, access isn’t planned, or expectations aren’t aligned. That’s why we like to do site surveys whenever possible. We double-check measurements, site conditions, and installation issues before we ever print, saving you from hassles and headaches. The good news? Nearly all of these issues are preventable with a little preparation!
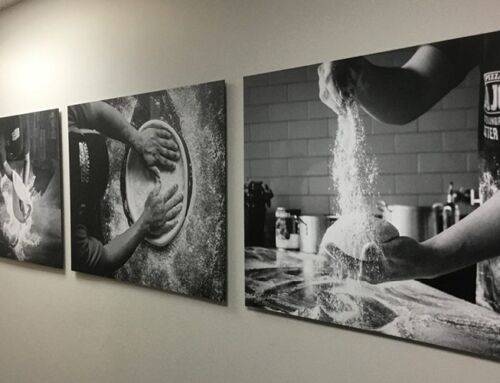
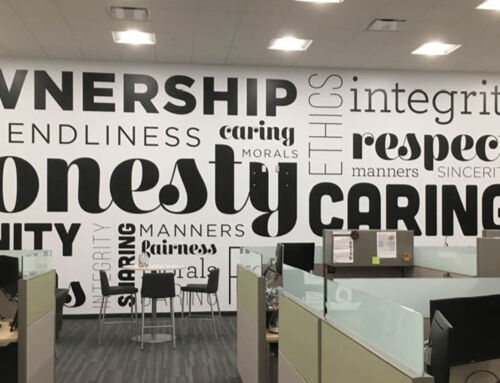
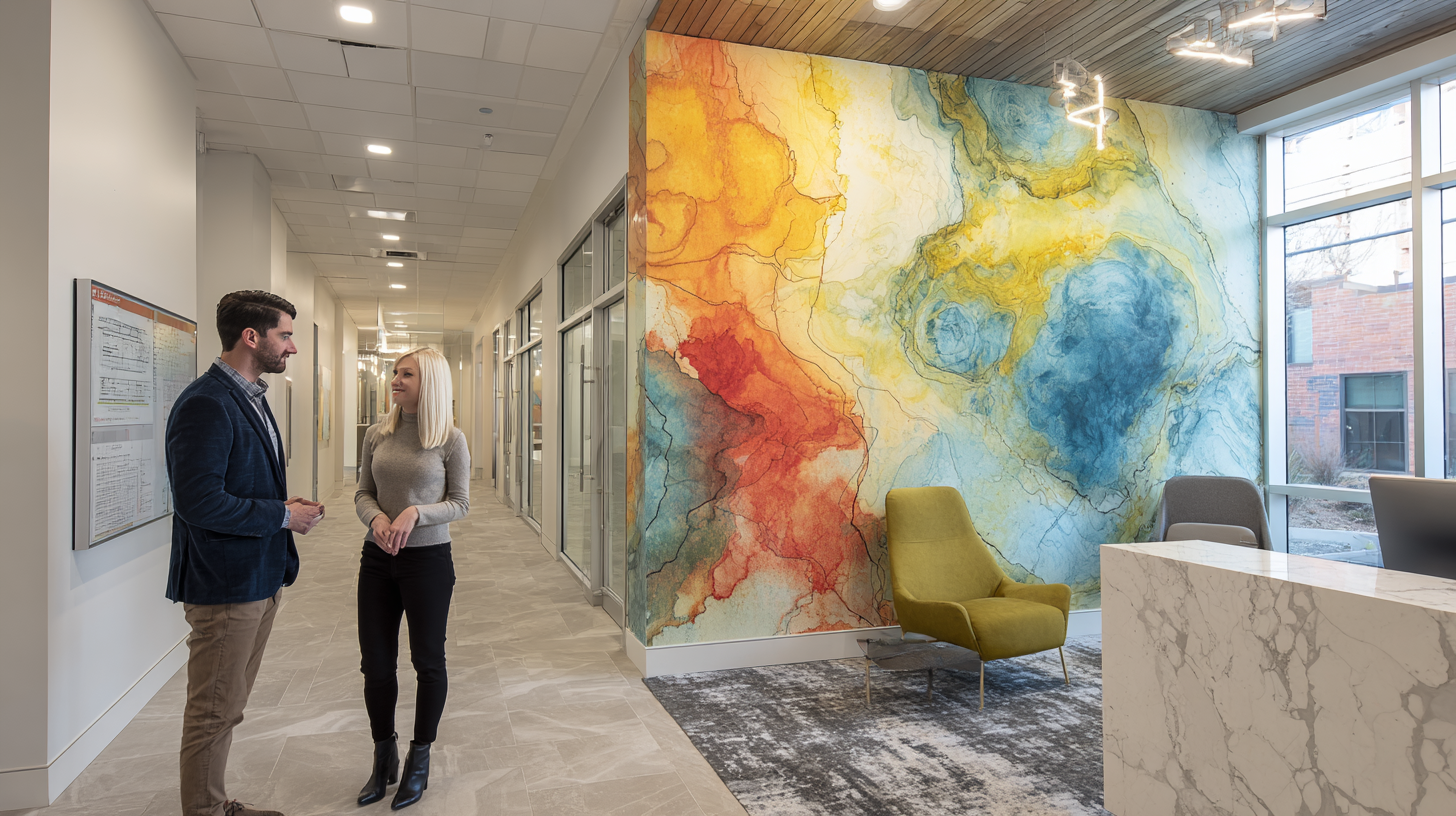
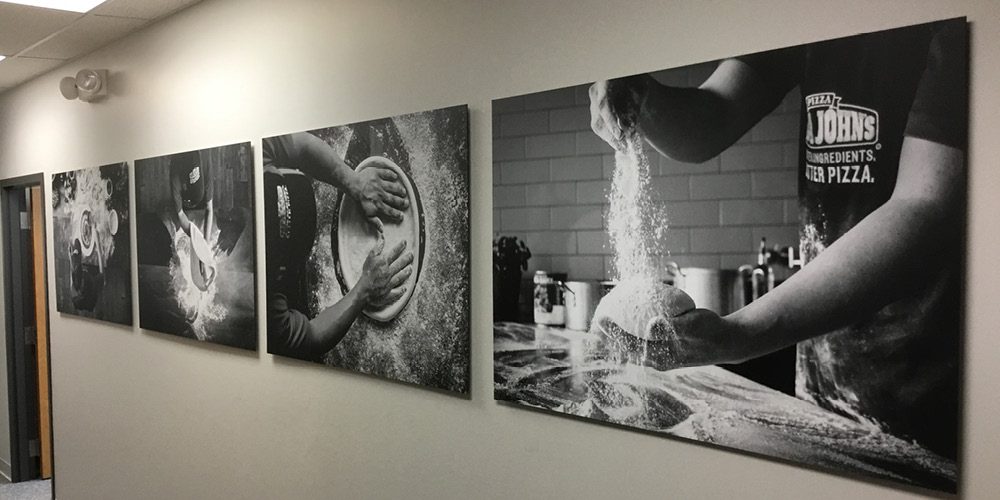
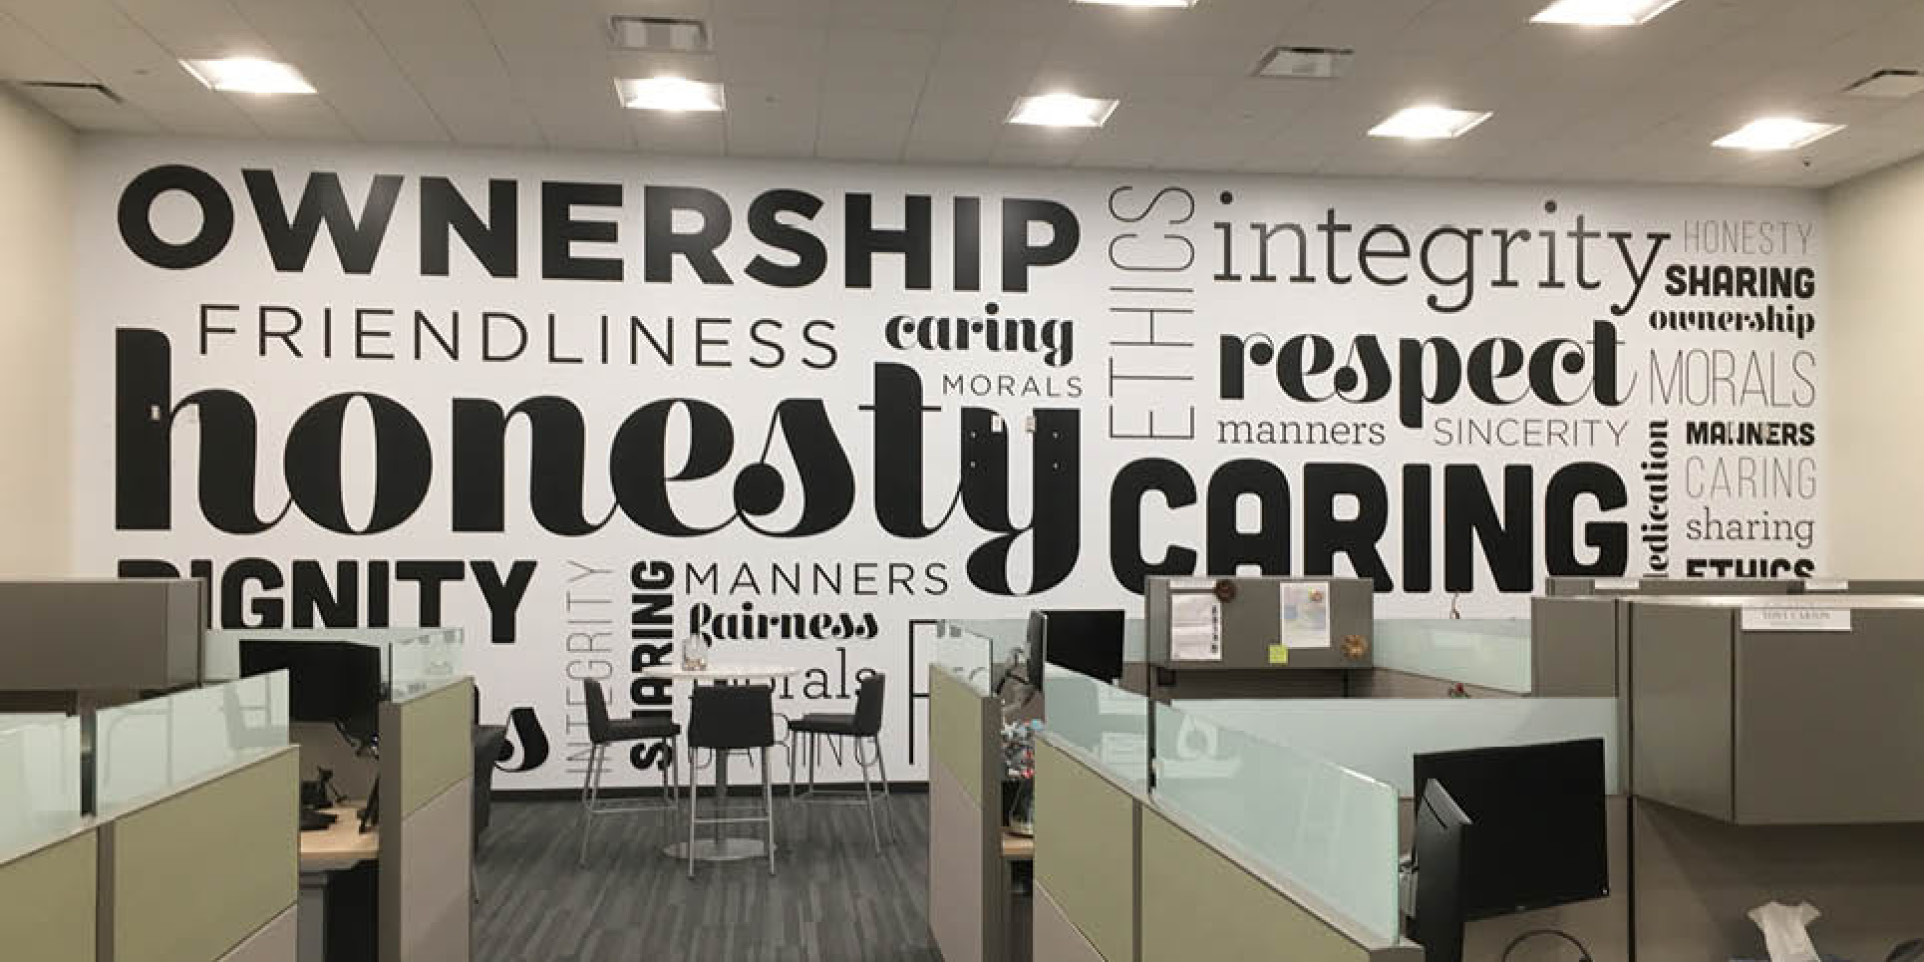
Whether you’re installing wall graphics, window film, wayfinding signage, or large-scale displays, these steps will help ensure a smooth install and a finished result that looks as good in real life as it did in the design.
1. Understand the Surface You’re Installing On
Not all walls, windows, or substrates behave the same way.
Paint type, texture, age, and curing time all affect adhesion. Fresh paint may need days—or even weeks—to fully cure. Textured walls can require different materials than smooth drywall. Glass surfaces need to be clean, grease-free, and free of residue.
Before installation, we want to confirm:
- Paint type and paint date
- Wall texture and condition
- Window coatings or treatments
- Any previous graphics or adhesives
Sharing this information with us early helps avoid delays, failures, or material changes at the last minute.
2. Measure Carefully—and Then Measure Again
One of the most common causes of install-day frustration is incorrect or incomplete measurements.
Door frames, trim, outlets, light switches, fire alarms, and architectural features all affect placement. Even small inconsistencies can create alignment issues, especially for multi-panel graphics or ADA signage.
Best practice:
- Site surveys help confirm locations and measurements in advance
- We verify heights and spacing requirements—or require you to
- If a site changes, or is under construction, double-check measurements
It’s far easier to adjust artwork than to reprint after installation day.
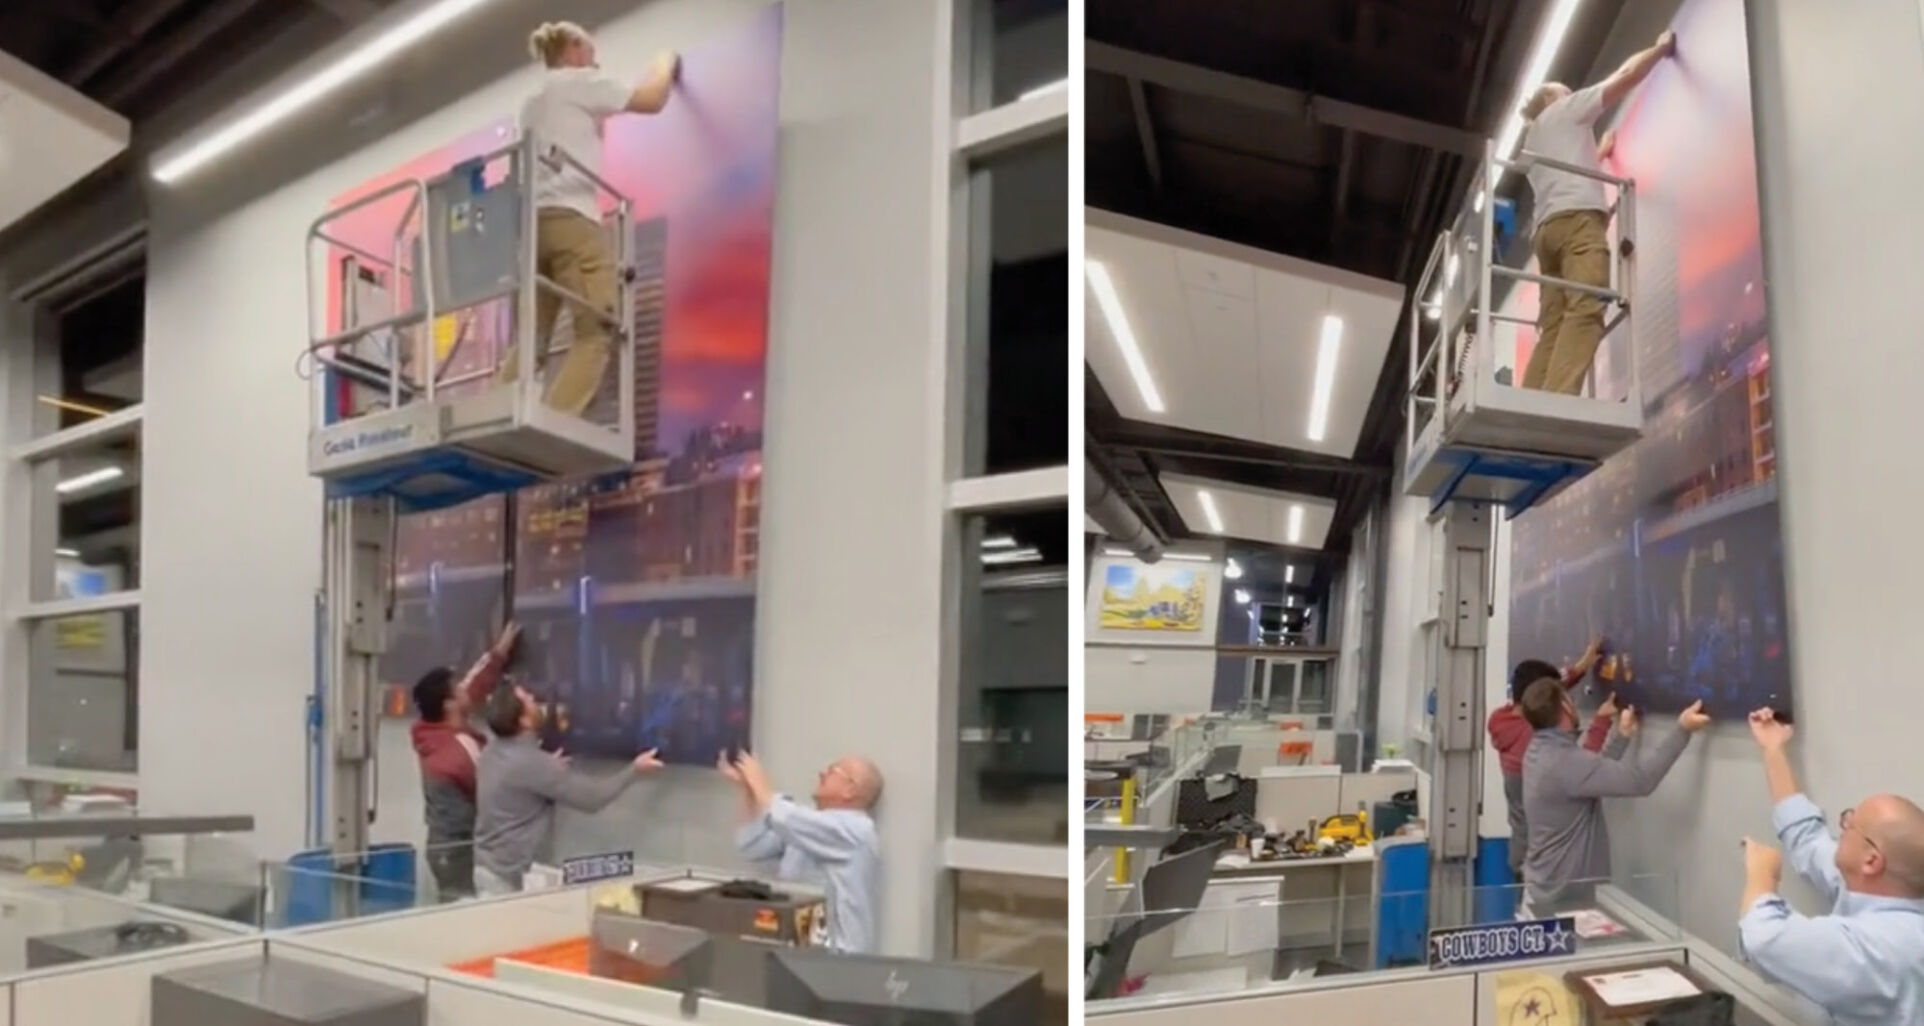
3. Plan for Access, Timing, and Logistics
Installers need more than just the right graphics—they need the right access.
Things we work to confirm ahead of time:
- Loading and unloading locations
- Parking or dock access
- Security requirements or escorts
- Lift or ladder needs
- Installation hours (especially in occupied spaces)
Planning around your business hours, foot traffic, and noise considerations keeps projects moving efficiently and minimizes disruption.
4. Prepare the Space Before Install Day
Clearing the install area saves time and protects surrounding surfaces.
Before installers arrive:
- Remove furniture, décor, and wall hangings
- Protect nearby finishes if needed
- Communicate with staff about the install schedule
A prepared space allows installers to focus on precision—not problem-solving obstacles.
The Bottom Line
A great installation doesn’t start on install day—it starts with planning.
When surfaces are understood, measurements are confirmed, access is coordinated, and expectations are aligned, installations go faster, last longer, and deliver better results.
That’s why experienced print partners focus on preparation as much as production—so what’s installed in your space reflects the quality you expect.


